I’m lucky to have chefs for friends. It’s one of my most favorite benefits of working in the restaurant business. Not only are professional cooks really entertaining to hang out with* they also are invaluable resources when it comes to anything culinary. And, if you ask nicely and aren’t afraid to embarrass yourself, chefs have lots of great insights on cooking techniques, recipes and how to improve your performance in your home kitchen.
Chef Technique
In order to cook like a chef you have to think like one. In a professional kitchen, cooking isn’t done on a whim. Everything is thought out in advance and prep–small tasks like shelling beans, peeling potatoes and making stock–is done before the first diner ever walks through the restaurant’s front door. The chaos of a busy kitchen is powerful enough to ruin any chef–regardless of their training and stature–if they haven’t properly organized, planned and maintained great technique.
Thanks to several recent off-the-clock visits with the chefs of Hatfield’s restaurant, I’ve been able to pick up a lot of great ideas I frequently use at home. Beyond learning about the best inexpensive kitchen tools, I’ve also been able to pick up some key cooking techniques. The following recipe is a great example of how learning an invaluable and time-tested cooking technique can make cooking at home so much easier.
Thanks to the generous guidance of my Michelin starred chef friend, Quinn Hatfield, I now am pretty certain how he makes Alaskan halibut taste so good. This recipe is a slightly modified version of a dish I recently tasted Hatfield’s.
Alaskan Halibut can be sublimely sophisticated when good planning, preparation and technique are employed. Advanced prep is the key to creating this elegant entree without ever breaking a sweat.
Before you start, read the recipe through from beginning to end
Rather than cook as you go, think about meal preparation as a two part process: prep and then cooking. Preparing dish elements in advance is an adjustment, but with all the chopping and complicated busy work taken care of in advance, there’s a lot less stress in the kitchen at dinner hour.
[print_link]
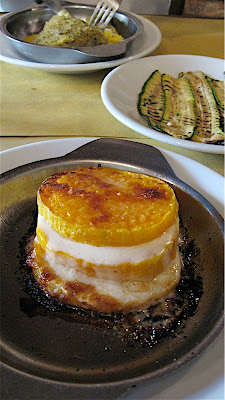
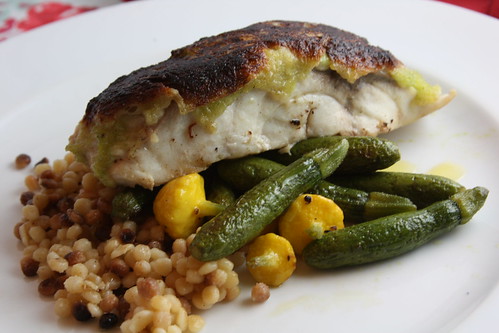
Crusted Alaskan Halibut with Shrimp Mousseline and Spring Vegetables**
Makes 4For the fish:
4-6 oz. halibut fillets with skin removed (Check for pin bones. Remove with tweezers, if necessary)
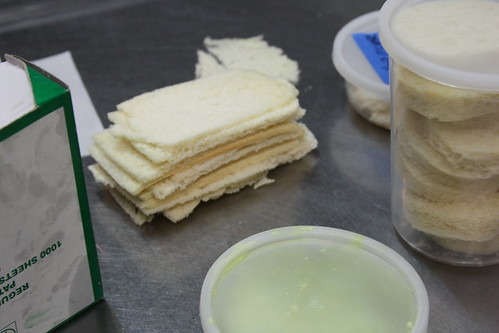
1 small loaf of brioche (to be frozen in advance of prep)
shrimp mousseline (see ingredient list below)
parsley butter (see ingredient list below)
Maldon sea salt
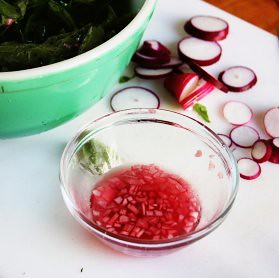
for shrimp mousseline
8 medium to large shrimp, with shells removed and de-veined
¼ cup heavy cream
1 small clove of garlic
for parsley butter
6 tbsp of butter, room temperature
¼ (heaping) cup of parsley leaves (removed from stem)
1 small clove of garlic
salt and pepper
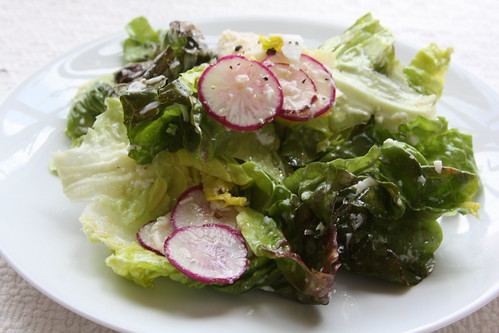
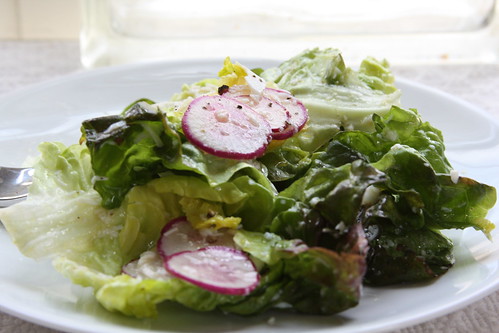
Spring vegetables
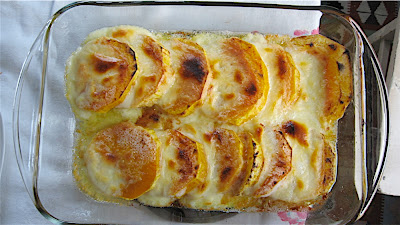
3/4 lb of mixed spring vegetables (baby carrots, baby zucchini, baby pattipan squash)
6 sprigs of thyme
4 tbsp butter or olive oil
salt and pepper
Maldon sea salt
Tools needed: metal cake tester, wax paper, pastry brush, steamer, mini-Cuisinart (or blender), mandoline (inexpensive plastic version can be found at Asian markets or at cooking stores like this.
Mise-en-place (can be done several hours in advance):
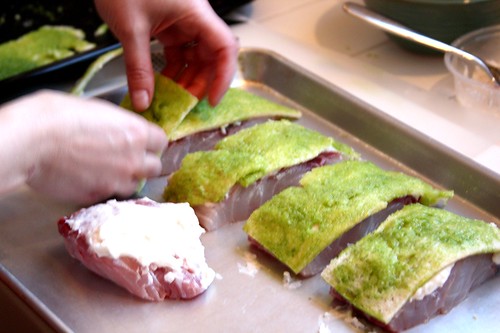
Cut brioche in half. Freeze the bottom half and save the rest for another use. When the bread is completely frozen, remove the crust and slice the bread into rectangular strips that mirror the shape of the fish fillets. Keep in mind you will only need to slice enough bread to create a single layered “crust” for each fillet. Slices should be no thicker than 1/8th of an inch. Line a sheet tray with a sheet of wax paper then add the brioche in a single layer. Cover with clear plastic and refrigerate.
To make the mousseline:
Place the cleaned shrimp, cream and garlic in the bowl of a mini Cuisinart. Purée until mixture is thick like a paste. Remove from bowl with a spatula and refrigerate in a covered container.
To make the parsley butter
Clean the Cuisinart’s bowl. Add butter, picked parsley leaves and garlic. Purée until smooth. Temper the butter over a low heat in a small saucepan or non-stick pan. When tempered, remove the brioche slices from the refrigerator. Spread parsley butter onto one side of bread. Flip the bread (butter side down) on the wax paper. Save remaining scallion butter for bruschetta or buttering bread.
Fish prep:
Spread a thin layer of mousse on the fish with the back of a spoon. When finished, salt and pepper both sides of the fish. Using the shrimp purée as a sort of glue, flip the fish (mousseline side down) onto the unbuttered side of the brioche bread.Cover with plastic wrap and refrigerate until ready.
45 minutes before serving time:
Remove sheet tray with prepped fish. Carefully flip the fish so that the wax paper is top side up. Cut around the wax paper so that each fish has wax paper covering its bread crust.
Add several inches worth of water to a pasta/vegetable steamer. When steamer has begun producing steam add the prepared fish, keeping the covered crust facing up. Do not crowd the fish. Crack the lid with a spoon, making sure the lid is tilted at an angle—otherwise the condensation will make the bread soggy.
Let the fish steam for 20 minutes. Carefully remove one piece of fish with a spatula. Using the cake tester to check the done-ness of the fish, insert the thin metal pick into the fish horizontally so that the tester hits each of the fish’s internal segments. If you feel the ping-ping-ping of the connective tissue, the fish will need more time to cook. Return to steamer. When the cooking is complete, the connective tissue will be buttery smooth and can not be perceived by the cake tester method.
Meanwhile, heat a small sauté pan over a medium heat. Add butter and, when melted, add the spring vegetables (if cooking carrots, add first before softer vegetables). Sauté until just soft. Add a sprinkling of thyme, salt and pepper. Taste and adjust for seasoning and cooking temperature. Remove vegetables.
When fish is finished steaming, add a generous tablespoon of butter to the warm sauté pan. When the butter has melted, carefully add one or two of the fish fillets (breading side down) to the pan. The point here is to quickly brown the bread, no more than 30 seconds to a minute. Carefully remove the fish and place on a warmed plate. Repeat with the other two fillets.
Spoon vegetables on the side of the warmed plates. Sprinkle the fish with Maldon sea salt and serve.
Should you decide to host a dinner party and skip going out for dinner altogether (despite the fact that there are plenty of restaurants out there willing to slash prices to get you in the door), this Alaskan Halibut is an excellent choice for maintaining calm in the kitchen as your guests arrive.
*Chefs are like pirates: they like danger, work odd hours, enjoy free time with an undeniable vigor, have fascinating stories to share and fire and sharp steel are their friends.
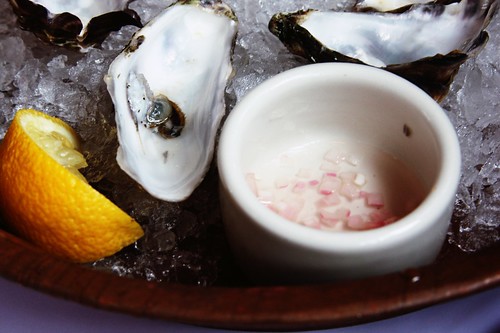
**This photo shows this dish made with Fregola sarda (a round pasta that resembles cous cous). I chose not to include prep for the pasta so as not to overwhelm!


.jpg)


.jpg)